Product design to
improve inclusion for
neurodiversity
& learning challenges
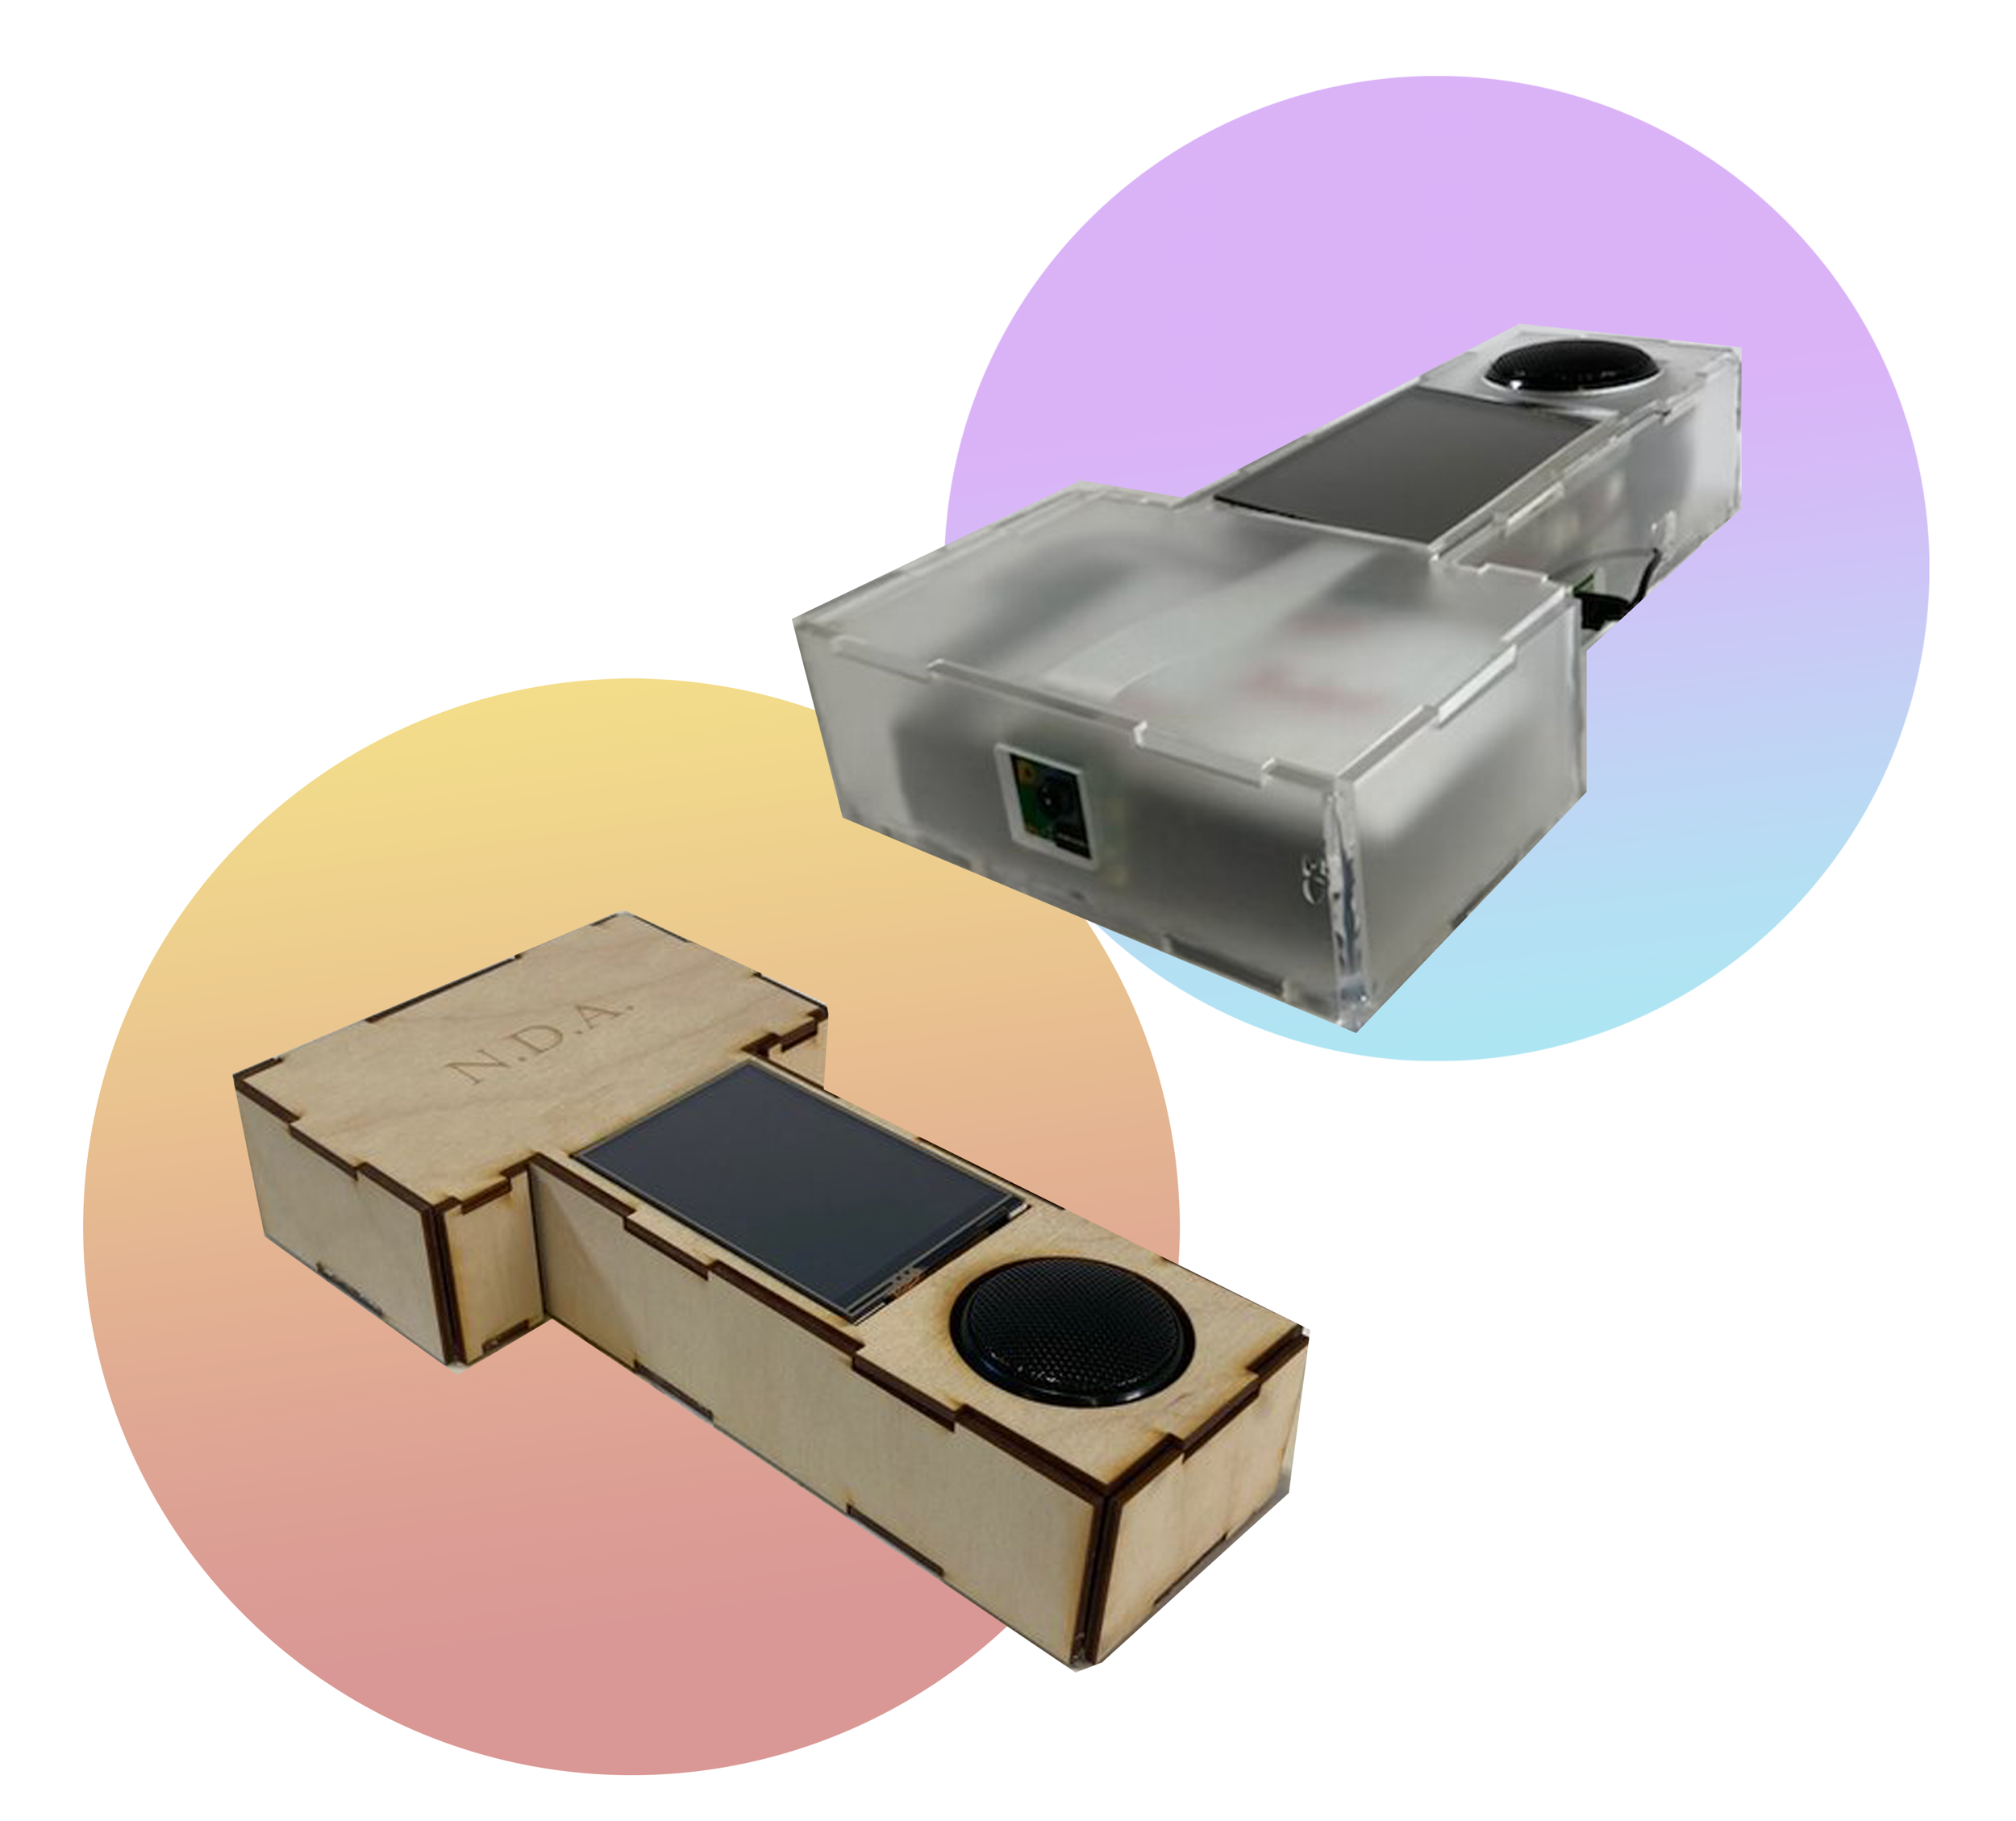
As the mechanical lead on a four-person team in Tufts University’s Engineering Design Lab, I helped develop a prototype to assist neurodivergent individuals, including those with alexithymia, dyslexia, and ADHD. The device used Google’s Cloud Vision API to analyze facial expressions, helping those with alexithymia interpret emotions. It also featured a text reader that converted photographed text into a dyslexic-friendly font and audio playback through an embedded speaker.
I focused on the mechanical design, integrating 3D modeling and laser-cut components to house the electronics. I also worked with Raspberry Pi and IoT devices to bring the system together.
Design Process
Brainstorming
For the device to accomplish both the emotion recognition and text reader portions, it would need to house:
Raspberry Pi
Battery for the Raspberry Pi
Camera to take photos of faces or text
Screen to show the likeliest emotion expressed or the text in the Dyslexie font
Speaker capable of outputting the spoken text
A way for the user to dictate which function the device would accomplish
Wires connecting each component to the Raspberry Pi
Initially, an ergonomic handle was considered for the device to enhance usability and comfort, but it was ultimately discarded because it made the device resemble a firearm too closely.
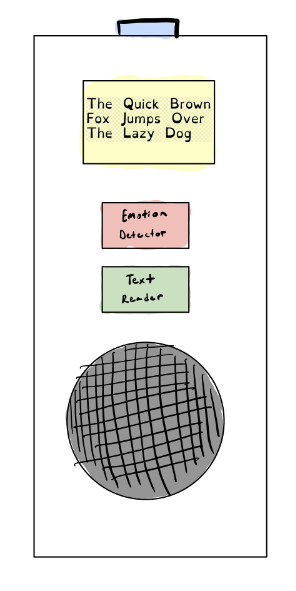
Original Sketched Designs
Planning a Solution
Main Constraints:
$50 budget
4 days for building and testing
Access to Raspberry Pi, battery, spare electronics, and NOLOP Makerspace
Considering the time constraint, simplicity and ease of assembly were prioritized over broad aesthetics and complexity.
Fig. 1 —Initial layout of the parts considering the size and length of the different parts and connecting wires. Fig. 4 shows the design when we originally only had access to a small screen, but we would go on to use our budget to purchase a larger touchscreen which rendered the two adjacent buttons unnecessary.
Fig. 1
Fig. 3
Fig. 2
Fig. 4
Prototyping
Iterative Prototypes
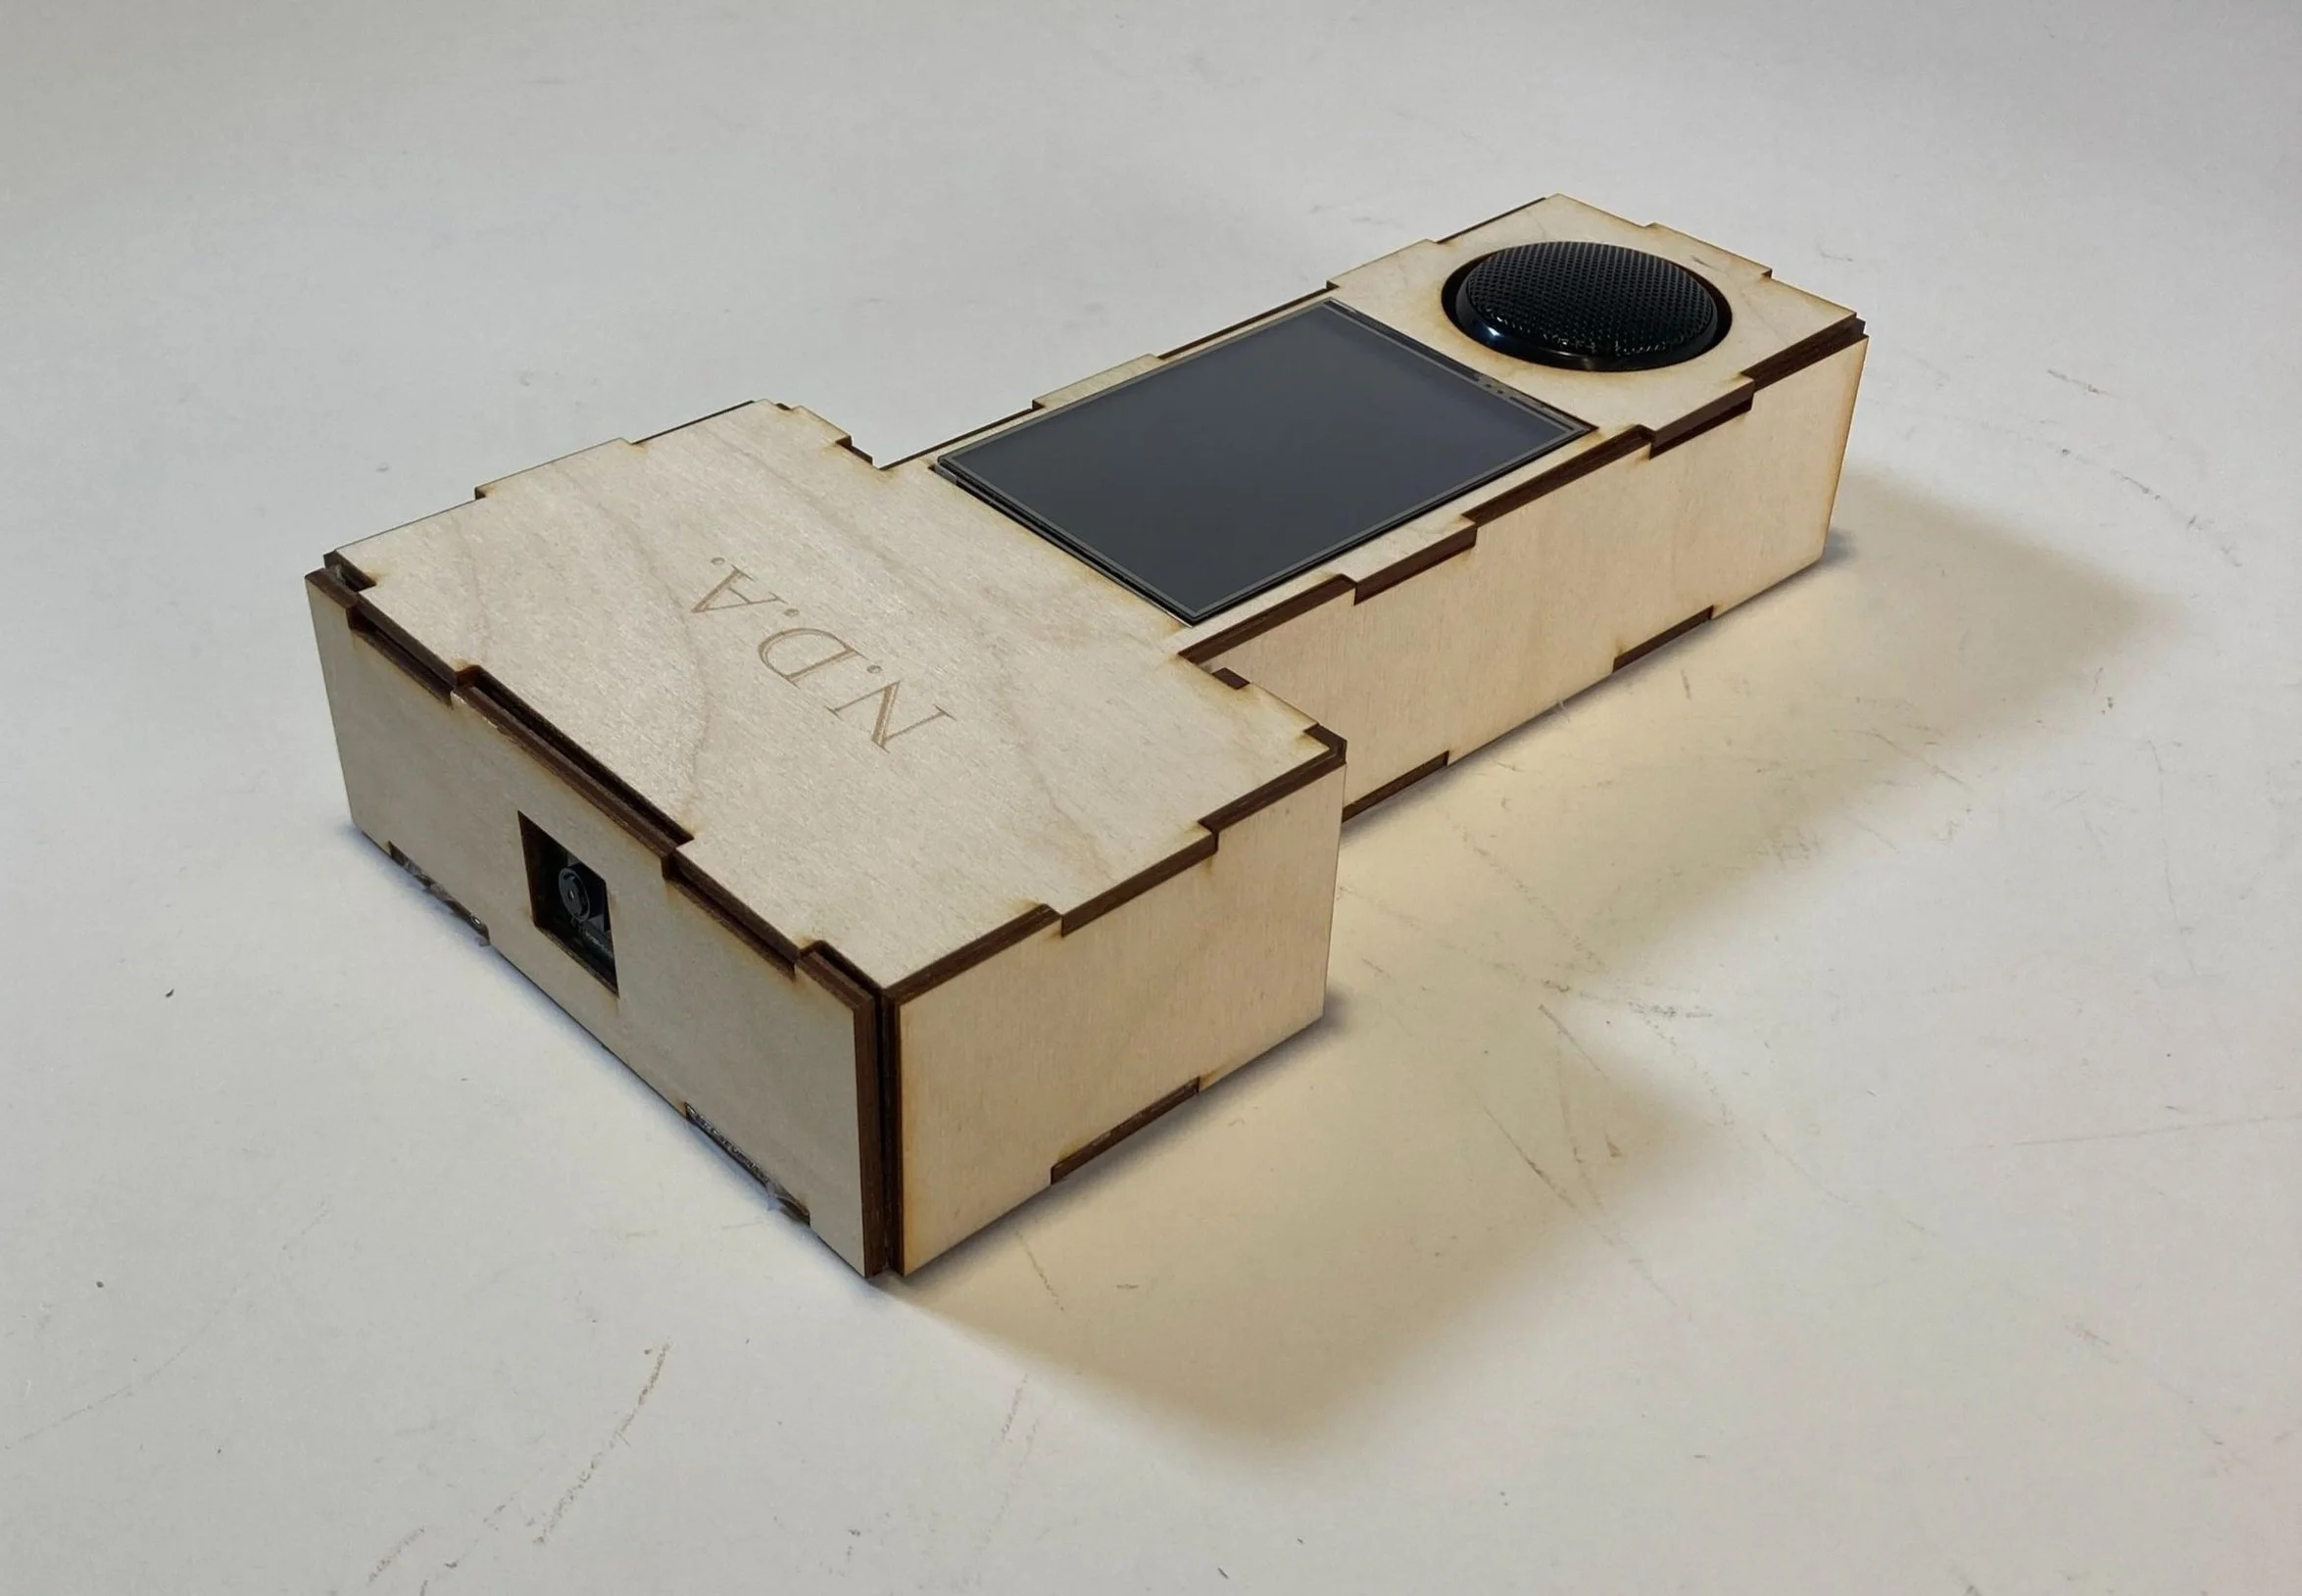
The early prototypes focused on calibrating measurements to ensure proper assembly and internal component placement, initially incorporating two physical buttons and a smaller screen (Fig. 5). However, as seen in Fig. 7, our original button design would have some wire exposed, prompting discussions about button covers before transitioning to a larger touchscreen.
The final prototypes refined functionality and fit addressing issues like the speaker connection. In Fig. 8, the speaker cord occasionally came loose due to a tight fit within the case, which was resolved in Fig. 9 by adding small access holes for secure connections.
Fig. 8
Fig. 5
Fig. 6
Fig. 7
Fig. 9
Programming and Testing
Understanding the Google Cloud Vision API (GCV API)
Google Cloud Vision is a cloud-based service that provides powerful image analysis capabilities through the use of machine learning to identify objects, faces, text, logos, landmarks, and more. Developers can integrate Cloud Vision into their applications via an API, allowing them to automatically categorize and extract insights from visual content, such as detecting emotions in faces, recognizing text (OCR), or classifying images based on their content.
GVV API applied for emotional recognition:
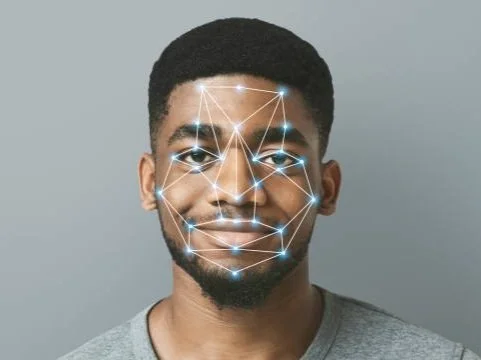
We would take a picture of the subject’s face and feed it through Cloud Vision’s “face detection” feature. The program would analyze the face’s “facial landmarks” (position of eyes, ears, nose, mouth, etc…), and then based on the results would give a rating between very unlikely to very likely for four separate emotions: joy, sorrow, anger, and surprise. The likelihood rating for each emotion would then be printed on the touchscreen.
For example, with a picture of a smiling person, the screen could read:
Joy: Very likely Sorrow: Very unlikely
Anger: Unlikely Surprise: Possible
Testing the Program
To achieve standardization, the device and algorithms were tested using a series of stock images and printed text, similar to the material shown here.
Ideally, a more comprehensive testing process would have been completed with testing edge cases and real-world photos containing varying levels of noise, distortion, and different fonts or handwriting. Instead this streamlined process was used to get a working product within the time frame.
GVV API applied for text detection:
Using Optical character recognition (OCR), a photo of the text is analyzed and converted into machine-coded text. The API could analyze both handwritten and printed material, expanding the device’s possible use cases. The machine-coded text would then be either manipulated into the Dyslexie font and printed on the touchscreen or synthesized into speech using text-to-speech technology.
Both Cloud Vision’s “Text Detection” and “Document Text Detection” were utilized to convert text to machine-coded text.
Product Demonstration and Takeaways
Working Product Demonstration
*No video was taken of the text detection software working properly, but during our presentation the device was able to detect printed text
Takeaways
The main takeaways from this project were a grown understanding of what it takes to manage a project and the responsibility having a leading role requires. Devoting my time to understanding what our programming lead was doing and needed from the casing while also developing and designing the casing in the limited time was extremely exciting but energy-consuming. I learned how to properly plan out the design process and communicate with my team so that none of us would experience major burnout while still creating a final product which we were all proud of.
